Your driveway or private road is looking pretty rough, isn't it? Maybe it's got cracks, potholes, or just looks tired. You're probably thinking, "Do I need to rip it all out and start fresh?" Not always. Sometimes, asphalt milling is exactly what you need, and it can save you a good chunk of change compared to a full tear-out.
So, what exactly is asphalt milling? Simply put, it's like a giant planer for your pavement. We use specialized machines to grind off the top layer of existing asphalt, leaving behind a stable, textured surface. This surface is then perfectly ready for a new layer of asphalt. It's a fantastic way to repair and rejuvenate a damaged surface without completely rebuilding it from the ground up.
Before the Project: Planning and Prep
Before any milling machine even gets close to your property, there are a few things you, as a homeowner, need to consider. This isn't just about the work itself, but about making sure everything goes smoothly and safely.
- Assess the Damage: Take a good look at your driveway or road. Are we talking about just surface cracks and minor potholes, or are there deep structural issues? Milling works great for surface problems, unevenness, or if you need to lower the grade. If your base layer is completely shot, or you've got serious drainage problems that have undermined the whole thing, milling might not cut it. That's when you're looking at a full reconstruction.
- Understand the Benefits: Milling is often more cost-effective than a full replacement because it reuses the existing base. It's also quicker and generates less waste. Plus, we call the milled material 'RAP' (Recycled Asphalt Pavement), and it can often be reused right on-site for shoulders or other areas. Or we'll take it for recycling, which is good for the environment.
- Check for Utilities: This is a big one. You absolutely need to know where any underground utilities are. Water lines, irrigation systems, electrical conduits, gas lines – you name it. A milling machine goes deep, and hitting one of these can be a disaster. Call 811 before you dig, or even before a professional starts milling. It's free, and it's the law.
- Clear the Area: Anything you don't want covered in dust or potentially damaged needs to be moved. Cars, planters, garden hoses, even delicate landscaping near the edge of the work area. Trust me, these machines kick up a lot of dust and small debris.
- Consider Drainage: Think about where the water goes now, and where it will go after the milling and repaving. Milling can sometimes change the grade slightly, so you want to make sure you're not creating new puddles or directing water towards your house. This is something a good contractor, like us, will look at closely.
During the Project: What to Expect
When the crew shows up, you'll see some serious equipment. The milling machine itself is pretty impressive, and there will be dump trucks to haul away the milled material. Here's what you can expect:
- Noise and Dust: There's no getting around it, milling is loud and dusty. If you have neighbors, it's a good idea to give them a heads-up. Keep windows closed and pets inside.
- Restricted Access: Your driveway or road will be completely inaccessible during the milling process. Plan for alternative parking and access for a day or two, depending on the size of the job.
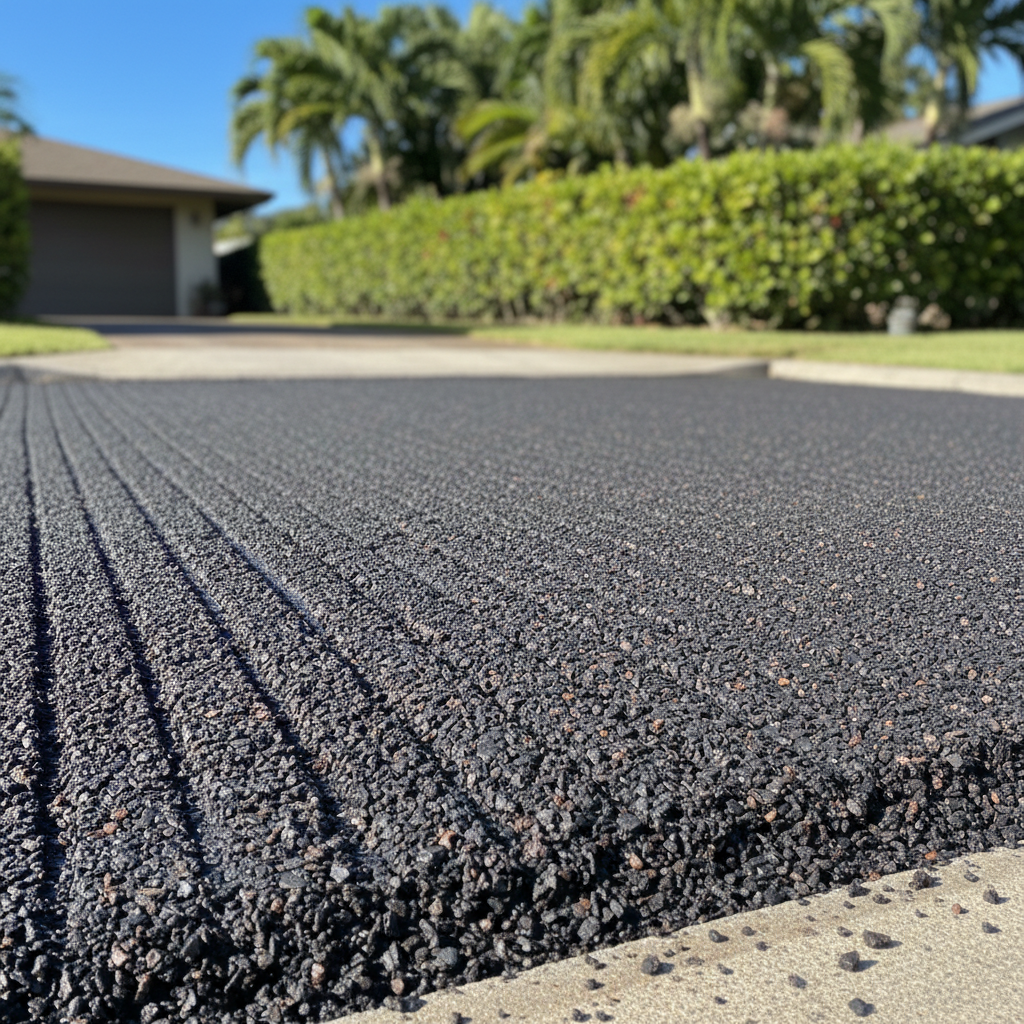
- The Milling Process: The machine will systematically grind down the top layer of asphalt to a predetermined depth. We then collect the milled material and load it into dump trucks. Once the milling is done, the surface will look like a rough, textured gravel road – that's your new base for the fresh asphalt.
- When to Call a Pro: For homeowners, milling is definitely not a DIY job. These machines are massive, expensive, and require skilled operators. You'll need a professional asphalt contractor like Spectrum Asphalt Solutions. We've got the right equipment and the experienced crew to do it safely and correctly. What you *can* do yourself is all the planning and clearing I mentioned above.
After the Project: The Finish Line
Once the milling is complete, the next step is usually paving with new asphalt. But even after that, there are a few things to keep in mind.
- Curing Time: New asphalt needs time to cure. You'll usually be able to drive on it within a day or two, but it's best to avoid heavy vehicles or sharp turns for at least a week, especially in the hot Honolulu sun. The asphalt stays pliable for a while, you know?
- Initial Appearance: The new asphalt will look dark and fresh. Over time, it will lighten slightly as it oxidizes. Don't worry if you see some minor imperfections at first; the crew will usually address any significant issues.
- Maintenance: To make your newly paved surface last, you'll want to keep it clean. Sweep off dirt and debris regularly. Watch for any small cracks that might develop over time and address them promptly. Sealcoating every few years is also a great way to protect your investment from the sun and rain we get here in places like Manoa or Hawaii Kai.
- Enjoy Your New Surface: You've gone through the process, and now you've got a smooth, durable surface that will last for years. It's a big improvement in curb appeal and functionality.
Milling is a smart choice for many situations, offering a cost-effective and efficient way to renew your pavement. If you're looking at your tired driveway and wondering if milling is right for you, give us a call. We can assess your situation and give you an honest opinion on the best way forward.